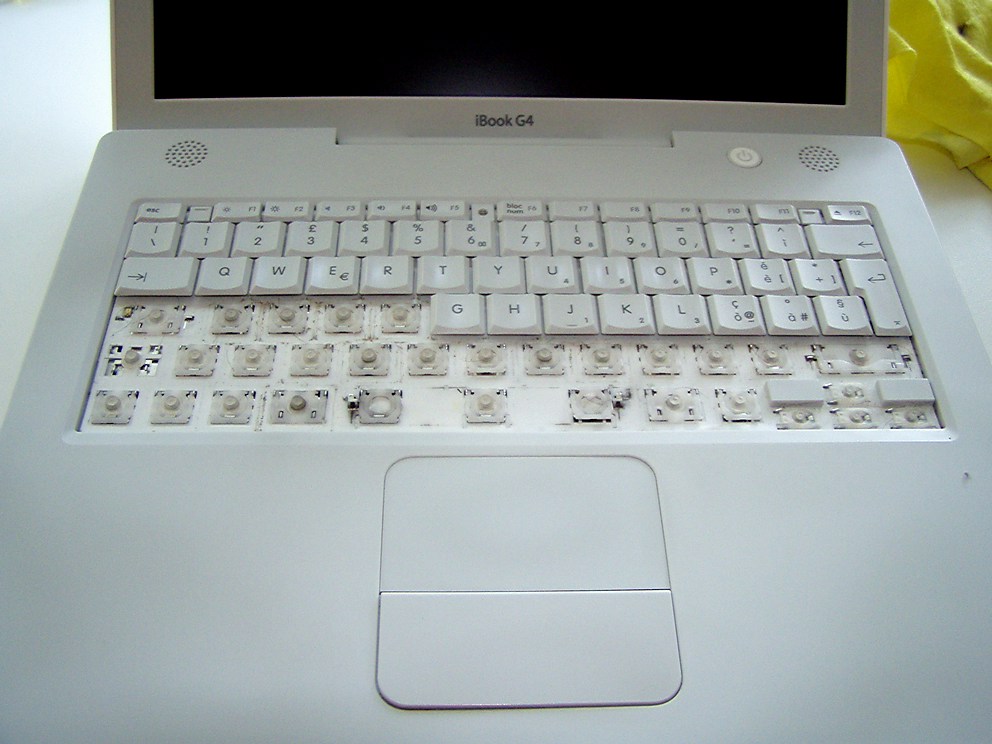
Pictures of the disassembling and reassembling steps
The pictures are old, from 2006, they show how the different keys and leverages of this kind of low-profile keyboards are built. At least all the iBooks and recent Powerbooks are built this way, plus some additional keyboards (MacAlly).
The pictures show the different steps, from the original state to the end. The lighting changes significantly because it was the first time and it took a couple of hours to complete the cleaning (the first after two years of use).

Some keys are more difficult to take apart (and reassemble) because they are bigger and therefore they need also a metal leverage.
The keys may have delicate couplings, especially if they are old.
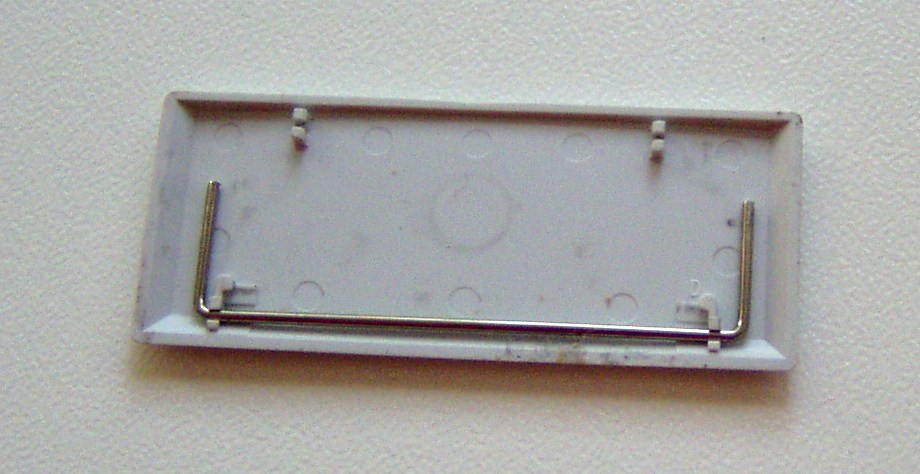
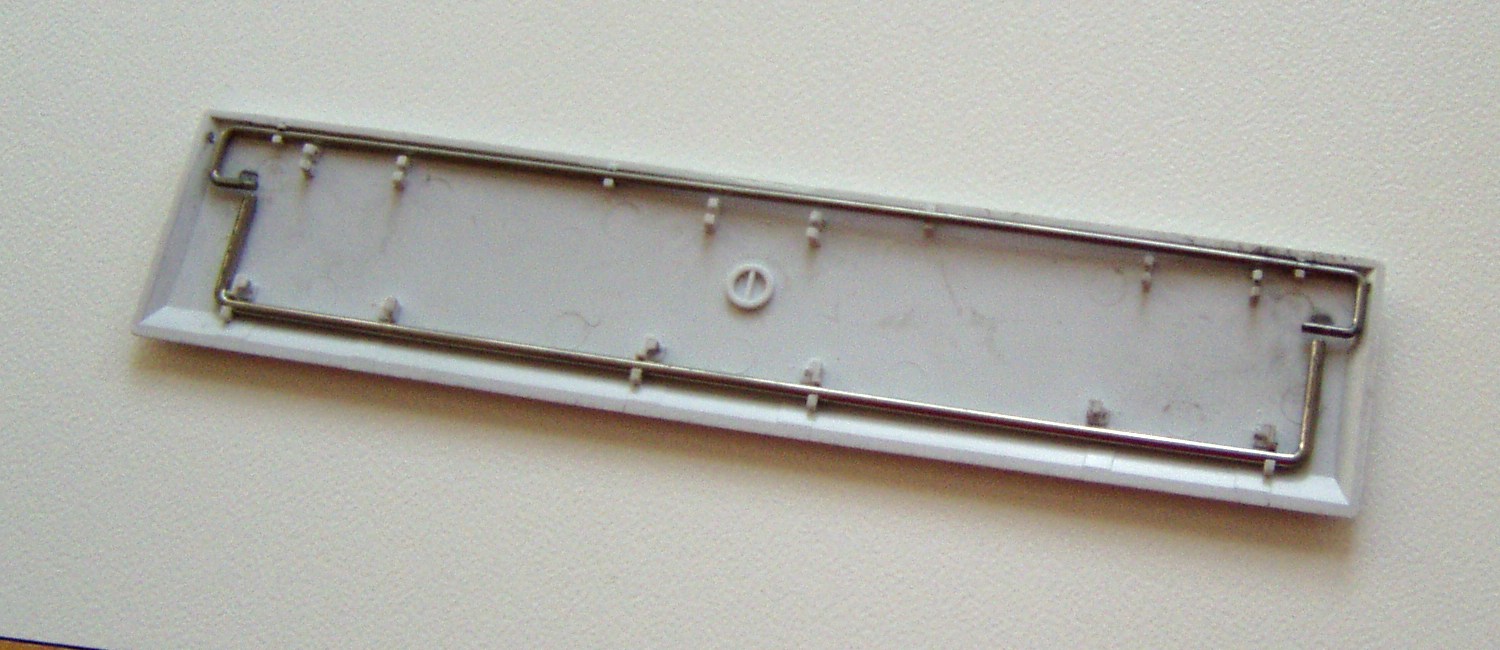
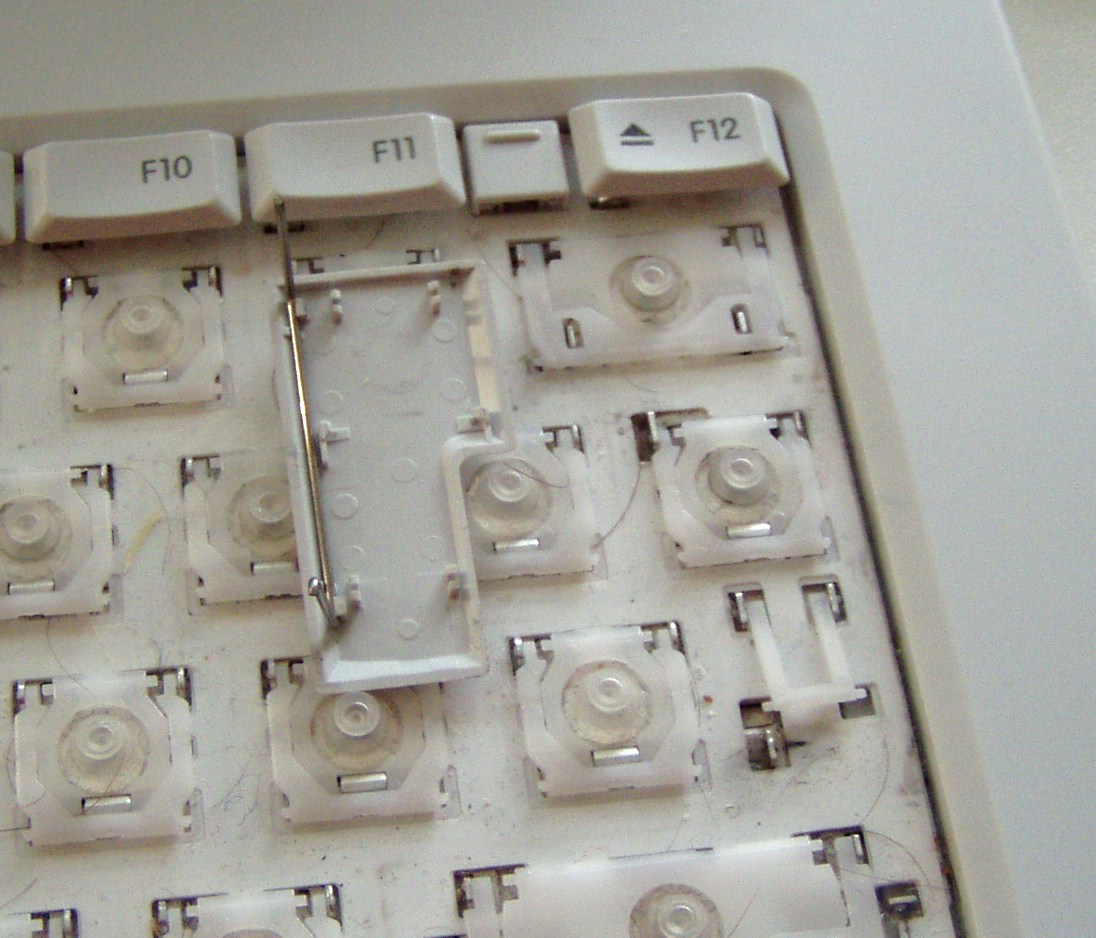
The spacebar key is the biggest and requires a double metallic leverage:
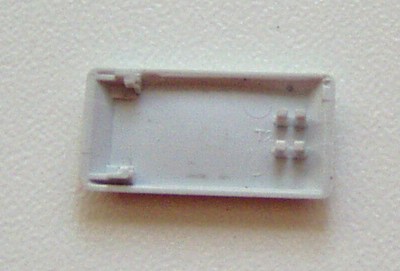
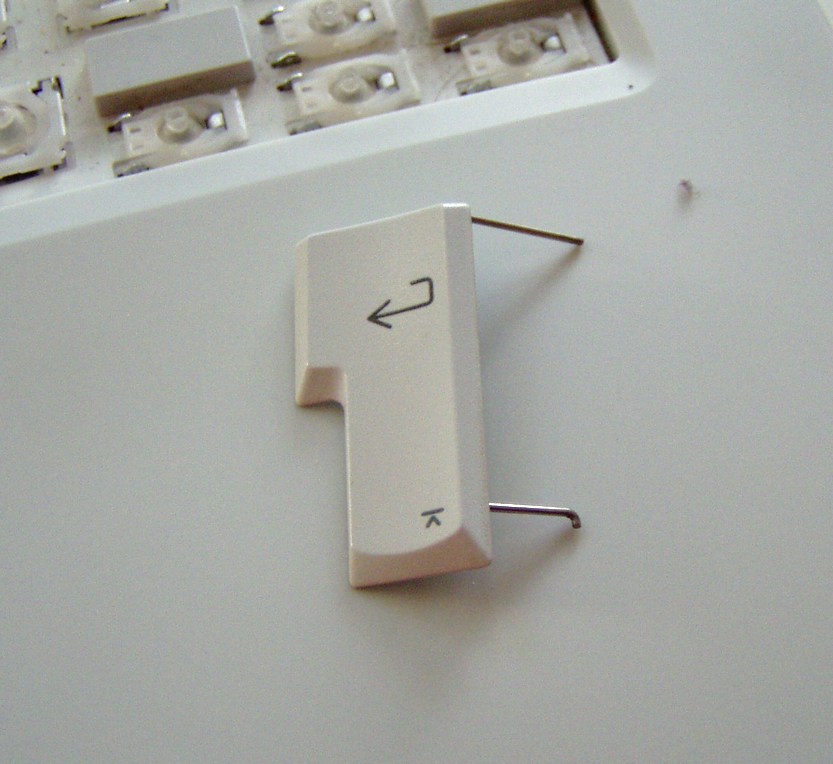
The Return (or Enter) key has two plastic leverages but only one metallic:
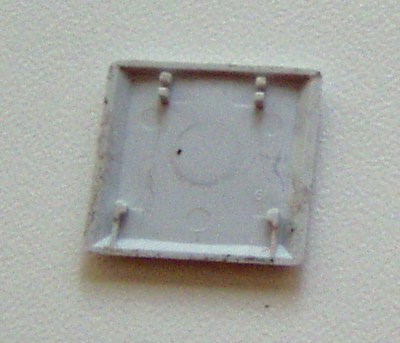
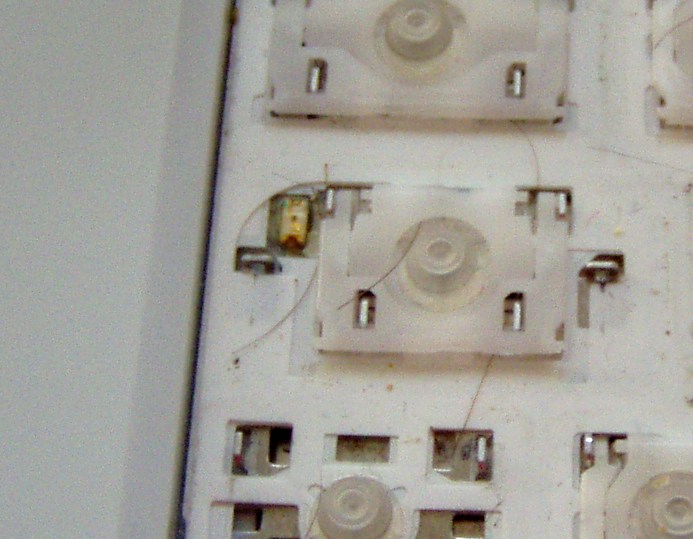
The caps lock key has a LED, it is delicate and it should not be cleaned with too much force:
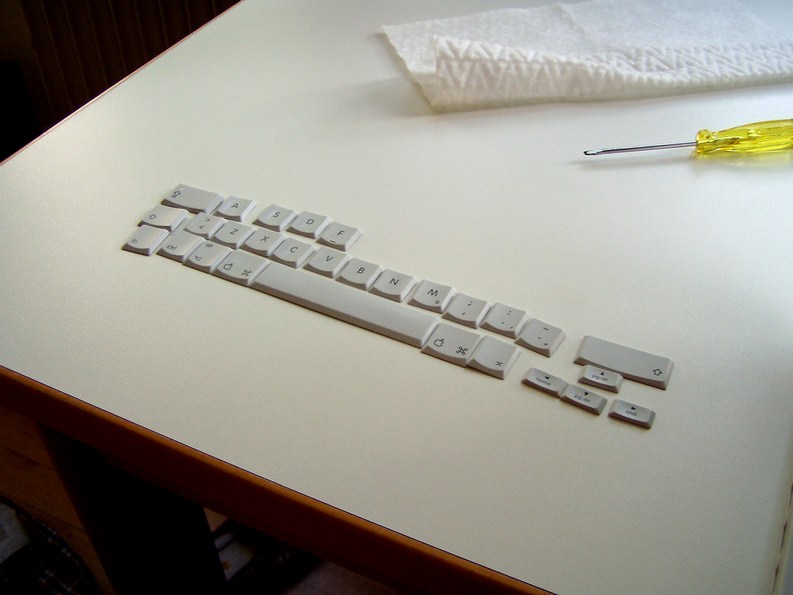
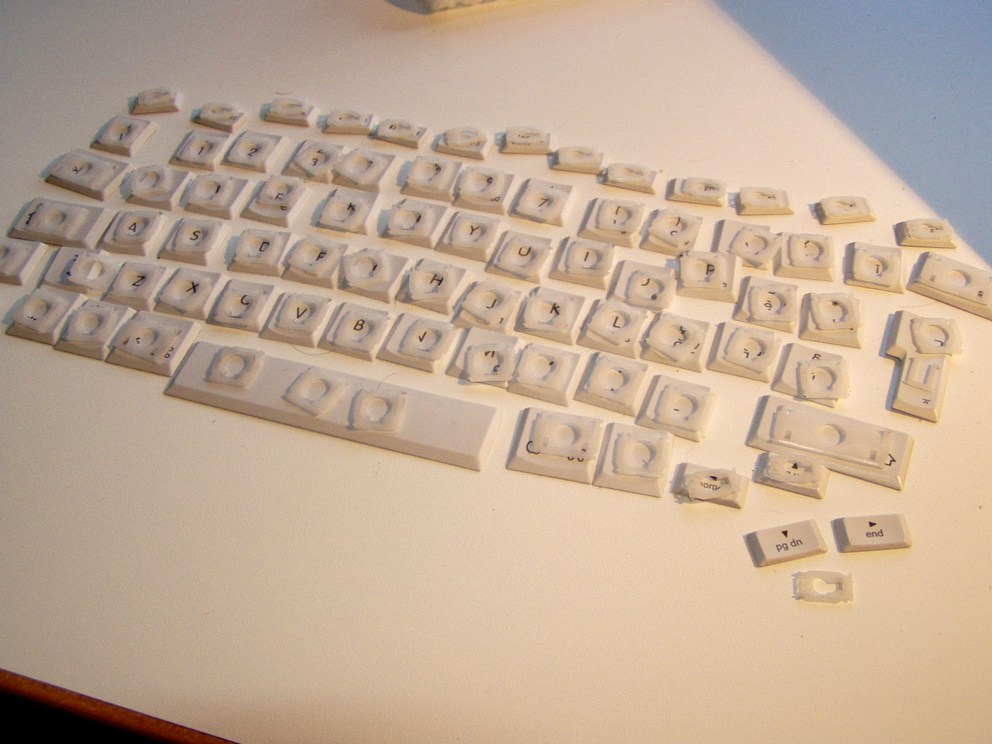
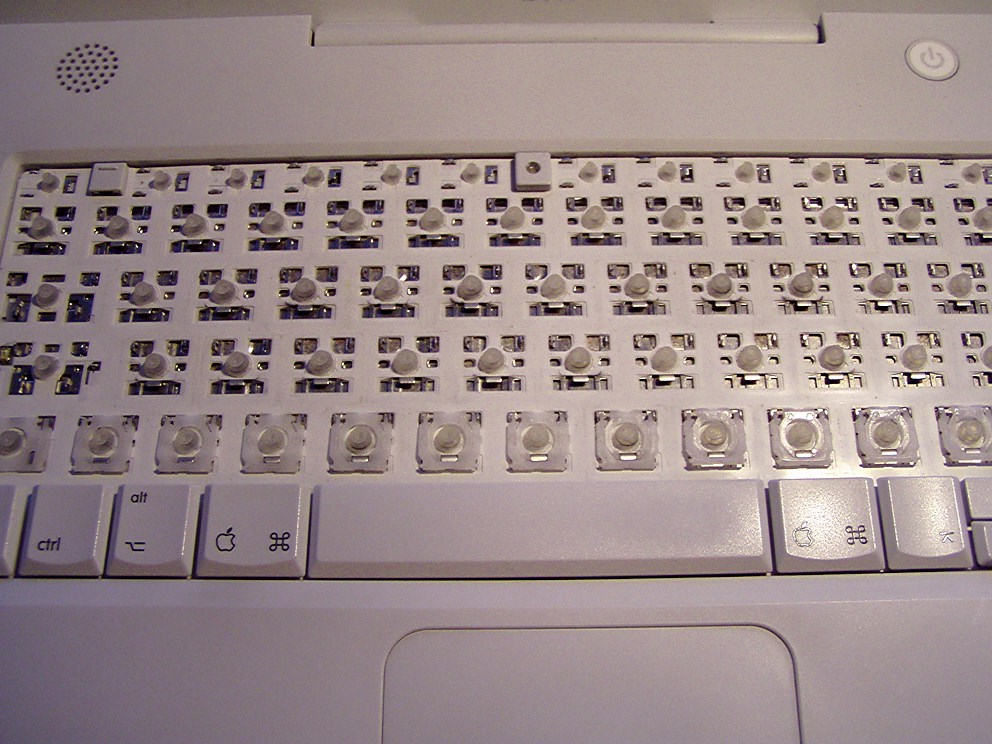
All the keys and some of the leverages removed:
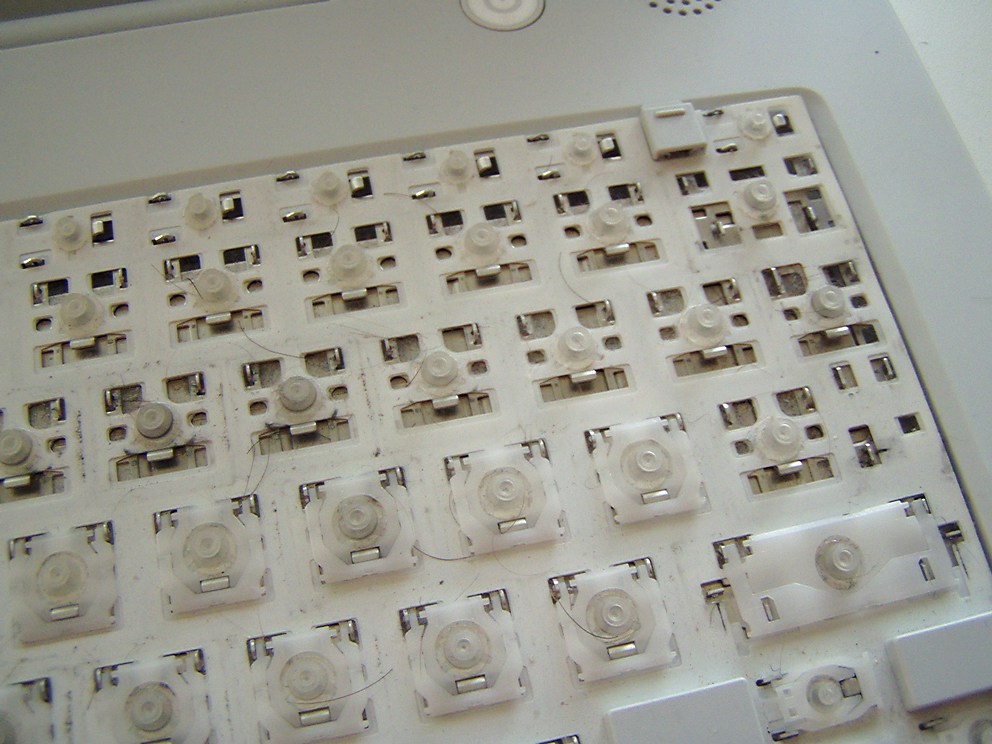
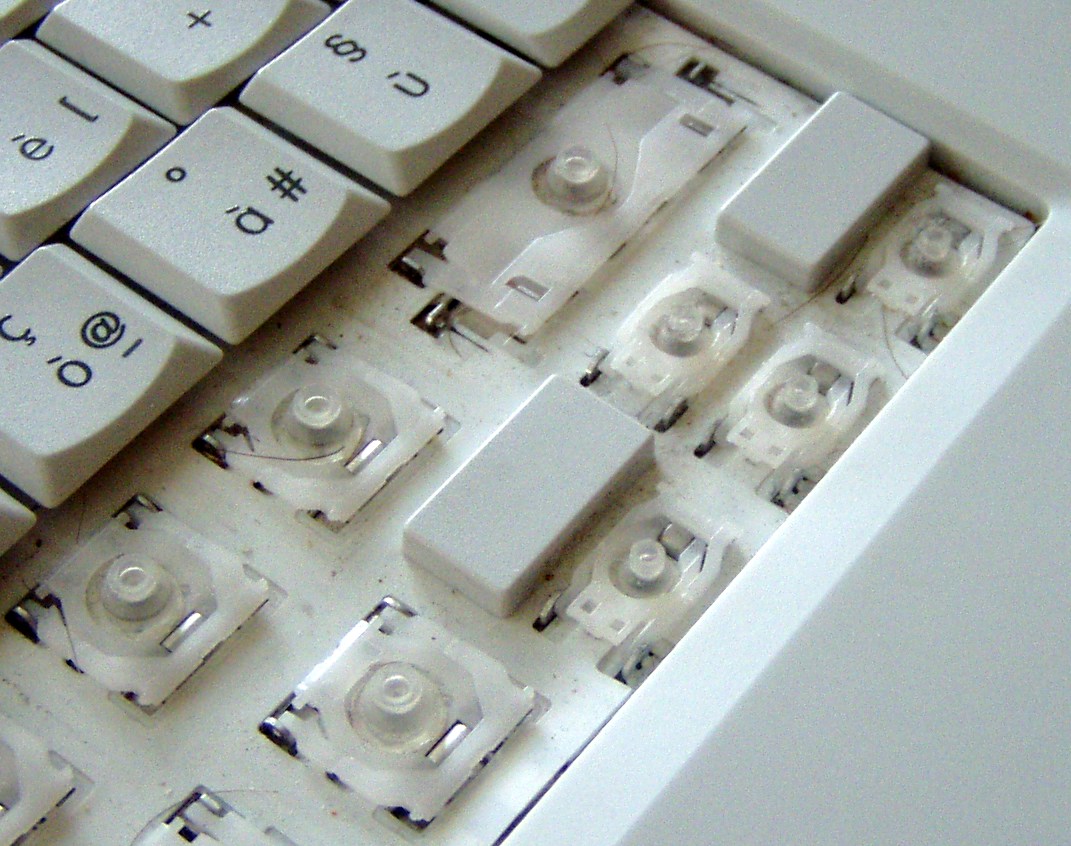
The next pictures show the leverages open and closed, they can be mounted in only one way:
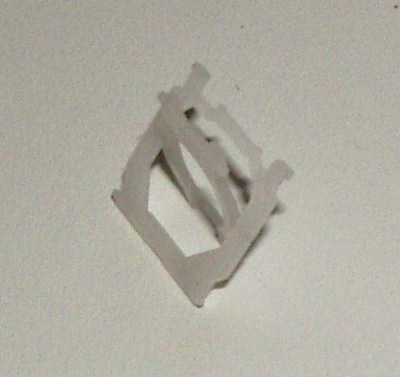
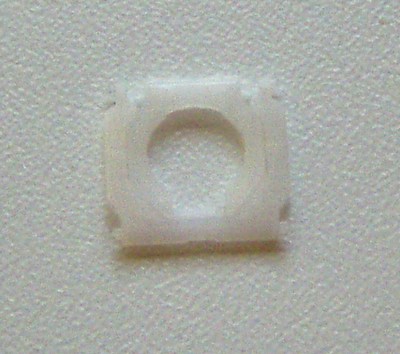
The housings can be easily cleaned now, but the dust cannot be completely removed:
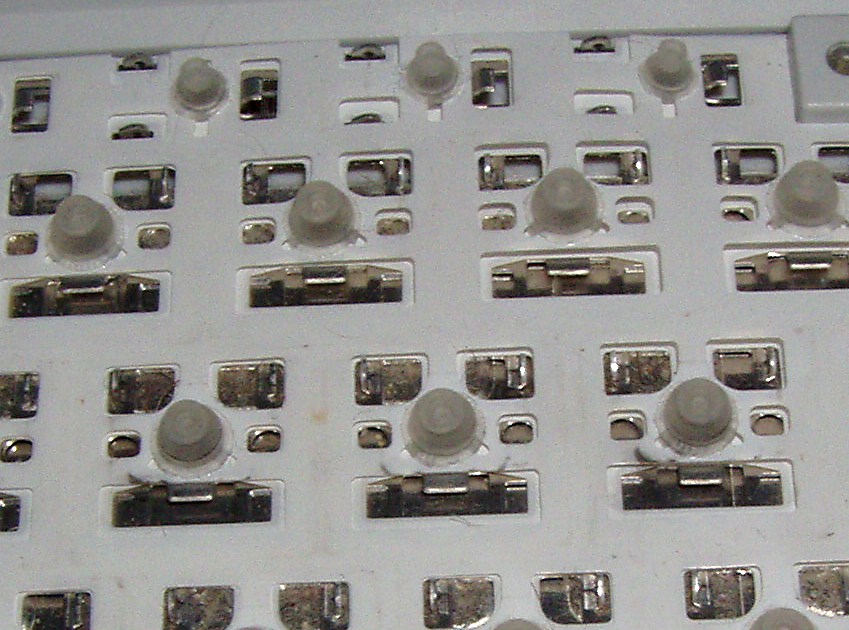
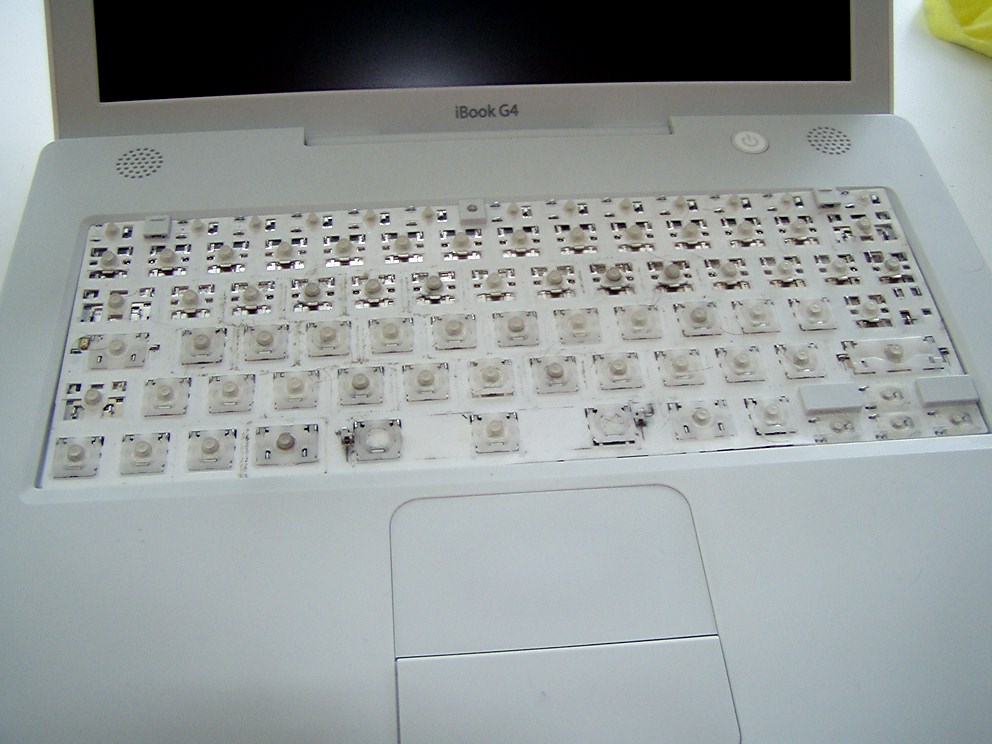
Everything seems cleaner now:
Since December I’m using a keyboard protective cover similar to the iSkin, simply a chinese imitation of it. It works very well: the touch is improved, the noise is reduced, the dirt cannot go inside. The original costs about 25 euro (30-35 dollars?), it doesn’t seem to wear out and it is a good idea to protect the laptop.
Update
I recently disceovered this webpage where a similar procedure is described. The difference is that even the sheet behind the leverages was cleaned, interesting for people willing to clean even more deeply.
First revision: 29 Maggio 2007.
Pulizia della tastiera di un iBook
Fotografie delle fasi di smontaggio e rimontaggio
Le fotografie sono vecchie, risalgono all’anno passato, ma mostrano come sono costruiti i tasti e i leveraggi delle tastiere a basso profilo, come quelle presenti in tutti i portatili recenti e disponibili anche per computer desktop (ad esempio, MacAlly).
Le foto mostrano i vari passaggi, a partire dallo stato iniziale fino al risultato finale. Come si può notare, la luce cambia significativamente, quella volta impiegai un paio di ore per l’intero processo (dopo poco più di due anni di età, se lo meritava).
Alcuni tasti hanno anche un leveraggio metallico perché molto grandi, sono più difficili da rimontare:
In generale, i tasti hanno agganci delicati: se la plastica è molto vecchia, possono rompersi.
La barra spaziatrice è la più grande e ha un doppio leveraggio metallico:
Il tasto Invio ha un doppio leveraggio sulla parte fissa ma solo uno metallico:
Il tasto per bloccare le maiuscole ha un piccolo LED saldato, che si distacca facilmente se strofinato con violenza:
Tutti i tasti e parte dei leveraggi sono stati rimossi:
Le prossime due foto mostrano i leveraggi da chiusi ed aperti, hanno una sola direzione di montaggio:
Gli alloggiamenti sono ora più facilmente pulibili, ma non si riesce a eliminare del tutto la polvere dagli interstizi:
Aspetto durante il rimontaggio, ora tutto è più pulito:
Da Dicembre dell’anno scorso uso un copri tastiera simile all’iSkin, solo di importazione cinese. MOLTO utile: migliora la sensazione al tocco, riduce il rumore dei tasti, evita che la polvere entri nella tastiera. L’originale costa 25 euro circa, non sembra consumarsi e penso sia un buon investimento quando si compra il portatile.
Aggiornamento
Ho di recente trovato questa pagina in cui si descrive una procedura simile. L’autore ha persino pulito i singoli leveraggi e smontato la plastica bianca che rimane dietro ad essi. Può essere interessante per chi volesse tentare una pulizia più profonda.
Prima revisione: 29 Maggio 2007.